Safety and Efficiency Guidelines for Residential Gas Heating
Safety First: How Gas Heating Works and What Keeps You Safe
Gas heating is a controlled fire in a box, turning chemical energy into the steady warmth you feel at the registers. Combustion needs three things—fuel, air, and ignition—and when these are balanced, the byproducts are mainly water vapor and carbon dioxide. Trouble begins when the balance slips: too little air can raise carbon monoxide, a colorless gas that can accumulate indoors if ventilation, venting, or the heat exchanger is compromised. Safety is therefore about both prevention and detection: keep the flame healthy and the byproducts out of living spaces, and have reliable alarms if something goes off script.
Start with ventilation and venting. Furnaces and boilers fall into two broad groups: those that pull combustion air from indoors and draft up a metal flue, and sealed-combustion models that draw air from outdoors and vent through plastic or stainless piping. Sealed systems reduce the chance of backdrafting and are often more efficient, but any design needs a clear, intact vent path. Flue blockages, disconnected joints, or corrosion can let exhaust drift where it shouldn’t.
Detection is the backstop. Residential carbon monoxide alarms are typically designed to alert after sustained exposure around several dozen parts per million, with faster response at higher concentrations. Place alarms on each level and near sleeping areas, test monthly, and replace units per the manufacturer’s lifespan. Natural gas and propane are odorized to smell like sulfur; if you detect that scent strongly, avoid switches, evacuate, and contact your utility or emergency services from outside.
Practical safety checklist you can review at a glance: - Keep the area around the furnace or boiler clear of storage by at least several feet for airflow and service access. - Ensure combustion air inlets and vent terminations are free of snow, leaves, lint, bird nests, or screens clogged with debris. - Confirm the flame is steady and mostly blue; tall, lazy yellow flames or soot marks call for professional attention. - Know where your gas shutoff is and how to turn it perpendicular to the pipe in an emergency. - Schedule annual professional service to inspect the heat exchanger, burners, safeties, and venting, and to measure combustion.
Getting More Heat per Dollar: Efficiency Metrics, Upgrades, and Realistic Savings
Efficiency in gas heating is commonly described by AFUE, or Annual Fuel Utilization Efficiency—the share of fuel energy that becomes usable heat over a typical season. Non‑condensing appliances often sit around the low‑80s percent range, while condensing units that extract latent heat from water vapor can reach the 90s. That difference stems from heat recovery: when exhaust gases are cooled below the dew point, additional energy is captured, and condensate drains away. Still, AFUE is only the starting line. Distribution losses, duct leakage, and controls can shift real‑world outcomes dramatically.
Begin with the building shell. Heat you pay for but lose through gaps, thin insulation, or leaky ducts raises bills regardless of AFUE. Sealing supply and return ducts in attics or crawlspaces can curb losses often measured in double digits. Tightening the envelope with weatherstripping and air sealing reduces drafts and shortens runtimes, while insulation above ceilings and around rim joists preserves comfort with fewer cycles.
Controls multiply savings when used thoughtfully. Programmable or smart thermostats can trim energy use with set‑backs; as a rule of thumb, dropping the setpoint by a few degrees for at least 8 hours can cut heating energy by roughly a percent per degree without sacrificing comfort for most households. Zoning—separate control of areas with different use patterns—can also help, particularly in multi‑story homes or additions. Just avoid aggressive short cycling; long, steady burns are typically more efficient and easier on components.
Equipment choices matter, but sizing matters just as much. Oversized units cost more upfront, cycle more frequently, and can be noisier. Right‑sized appliances, especially two‑stage or modulating models, better match output to demand and hold temperatures more evenly. Pair that with clean, appropriately rated air filters (many homes do well with MERV 8–13 filters that suit the blower and duct design) to keep airflow in its optimal range.
Thinking in dollars: consider a simple lens—if you spend 800 therms in a season and trim 10% through envelope improvements and controls, that’s 80 therms saved. The same logic applies to AFUE upgrades; moving from roughly 82% to the low‑90s can reduce fuel use on the order of a few dozen therms per thousand needed at the register. Stacking moderate gains—duct sealing, balanced airflow, calibrated controls, and a high‑efficiency unit when it’s time—often beats chasing a single marquee upgrade.
Installation and Venting Essentials Homeowners Should Understand
While licensed professionals should install and commission gas heating equipment, homeowners benefit from knowing what “correct” looks like. Proper gas supply is about pressure, pipe sizing, support, and bonding. Long runs, many fittings, or additional appliances can require upsized piping to maintain pressure under peak load. Flexible connectors should be intact and free of kinks, and shutoff valves should be accessible. Where corrugated stainless tubing is used, bonding to the home’s electrical system is frequently required to reduce lightning‑related risk—another detail a pro should verify.
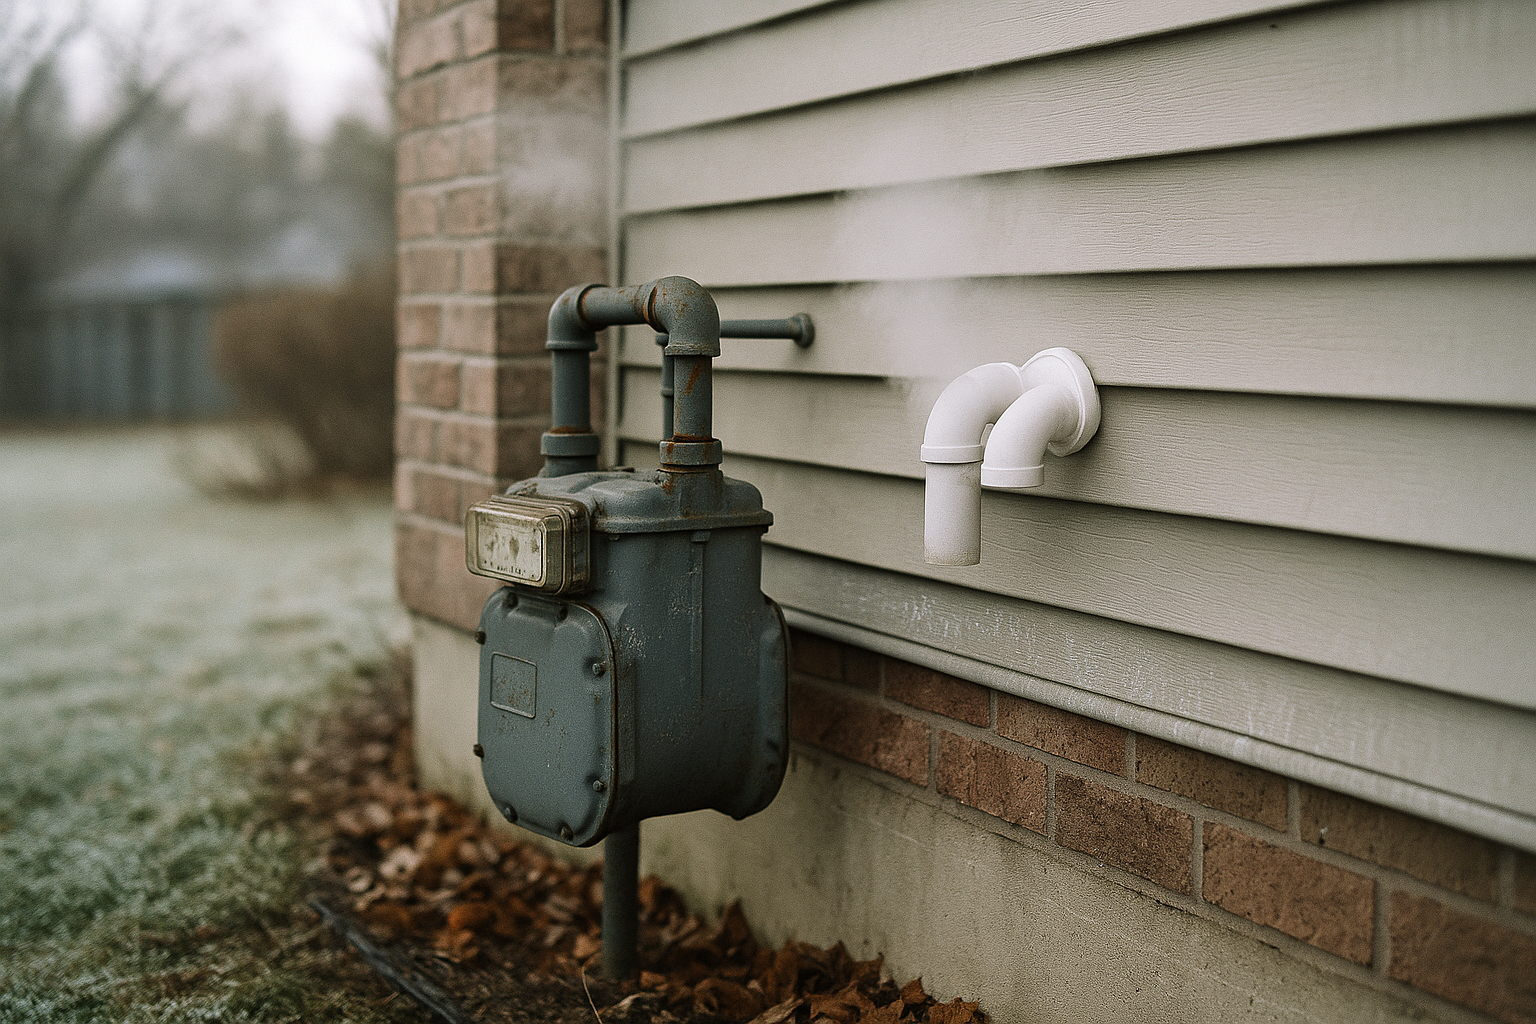
Combustion air and venting are the other half of the story. Appliances need adequate oxygen, supplied either from the room (with provisions for make‑up air) or directly from outdoors through a dedicated intake. Vent connectors should slope back toward the appliance slightly to manage condensate, and joints should be mechanically fastened and sealed where required by the venting material. Terminations for side‑wall vents are typically kept a safe distance from windows, doors, and grade; many jurisdictions call for clearances on the order of a few feet from openings and at least a foot or two above expected snow lines, but exact numbers vary, so local code rules and manufacturer instructions govern.
Condensing appliances produce acidic condensate that must be drained to an approved location. To protect piping and drains, many installations include a neutralizer cartridge that raises pH before discharge. The drain line should be protected from freezing and routed with proper slope to avoid backups. If the unit uses plastic venting, the material type, pipe size, and maximum equivalent length are all specified; elbows count toward length limits, so runs must be planned, not improvised.
Commissioning is the final, indispensable step. Airflow is set, gas pressure is adjusted, combustion is measured, and safeties are tested. Without these checks, even a great appliance can underperform or operate outside its intended envelope. Homeowners can ask for these readings in a simple handover sheet, including temperature rise across the heat exchanger and measured static pressure in the ducts. That one page makes future troubleshooting faster and often pays for itself the first time something seems “off.”
Maintenance and Troubleshooting Without Guesswork
Most performance issues start small and grow. A filter that is a month overdue strains the blower, reduces airflow, and forces longer cycles to reach setpoint. Dirty burners can distort flame patterns, encouraging soot and tripping safeties. A tired igniter may work intermittently, creating sporadic lockouts that are easy to misread as a thermostat fault. The antidote is a measured routine: clean, inspect, and verify.
A practical maintenance calendar: - Every 1–3 months in heating season: check the filter and replace as needed; aim for a pressure‑drop friendly filter that still protects the coil and heat exchanger. - Twice per year: vacuum return grilles, clear floor or wall registers, and ensure furniture or drapes don’t block airflow paths. - Annually: schedule professional service to clean burners, inspect the heat exchanger, test the inducer and blower, measure temperature rise, and confirm gas pressure and safety controls. - Before winter: test carbon monoxide alarms, check dates on the devices, and confirm fresh batteries or backup power where applicable.
Knowing the symptoms helps you act early. Short cycling—frequent on/off operation—can stem from oversized equipment, restricted airflow, or a defective limit switch. Uneven temperatures often trace to duct leakage or closed registers forcing imbalanced flows. A rumbling start may suggest delayed ignition; a whistling sound can point to undersized returns or a filter with too much resistance. Persistent soot or a yellow, flickering flame requires immediate professional attention because it may be linked to incomplete combustion.
When DIY stops and a pro steps in: - You smell gas strongly or hear hissing: evacuate and call from outside. - The unit locks out repeatedly: have a licensed technician read fault history and test ignition, sensors, and controls. - You suspect backdrafting: a pro can perform draft and combustion tests and inspect the vent system end to end. - You replaced a thermostat and the problem persists: deeper electrical, pressure, or control issues are likely.
Measured maintenance isn’t glamorous, but it yields quiet comfort, lower bills, and fewer unwelcome surprises. Keep records—filter dates, service invoices, any parts replaced. Patterns in those notes often reveal the fix faster than guesswork ever could.
Conclusion and Practical Roadmap for Comfortable, Safe Heat
Homeowners don’t need to become combustion experts to enjoy safe, efficient gas heat; they need a grounded plan and the right checkpoints. Begin with the fundamentals: unobstructed combustion air, intact venting, working alarms, and clear space around the appliance. Next, tune the system to the house. Seal obvious leaks at the building envelope, shore up insulation where cost‑effective, and make sure ducts in unconditioned spaces are sealed and insulated. These steps reduce load, making your equipment seem “bigger” without changing a single part.
Set realistic targets by season. In the fall, replace or clean filters, test alarms, and schedule annual service. In mid‑winter, review thermostat schedules and tweak setbacks if rooms feel sluggish on recovery. In late winter or early spring, note comfort issues—cold rooms, noisy returns, frequent cycling—so you can address them before next season. If equipment is aging or underperforming, plan upgrades on your terms rather than during a breakdown when choices are limited.
Budget with simple math and avoid paralysis. Estimate fuel use, pick a modest savings goal from envelope improvements and controls, and track results over one heating season. If your unit is due for replacement, consider sealed‑combustion, high‑efficiency options that match your duct system and comfort needs, and verify that venting and condensate management fit your home. Ask installers to document commissioning measurements; those numbers are your benchmark.
Finally, think resilience. Most modern gas appliances need electricity for controls and fans, so plan for outages if they’re common in your area. Keep a small stock of filters, and store the furnace manual and service records in a dry, accessible spot. With these habits, you’ll convert abstract safety and efficiency advice into quiet, dependable warmth—season after season—without drama or guesswork.